
Zero Turn Mower Belt Maintenance: How to Do It Right on a Viper
11 min read · 2091 words · Updated 2026-06-19
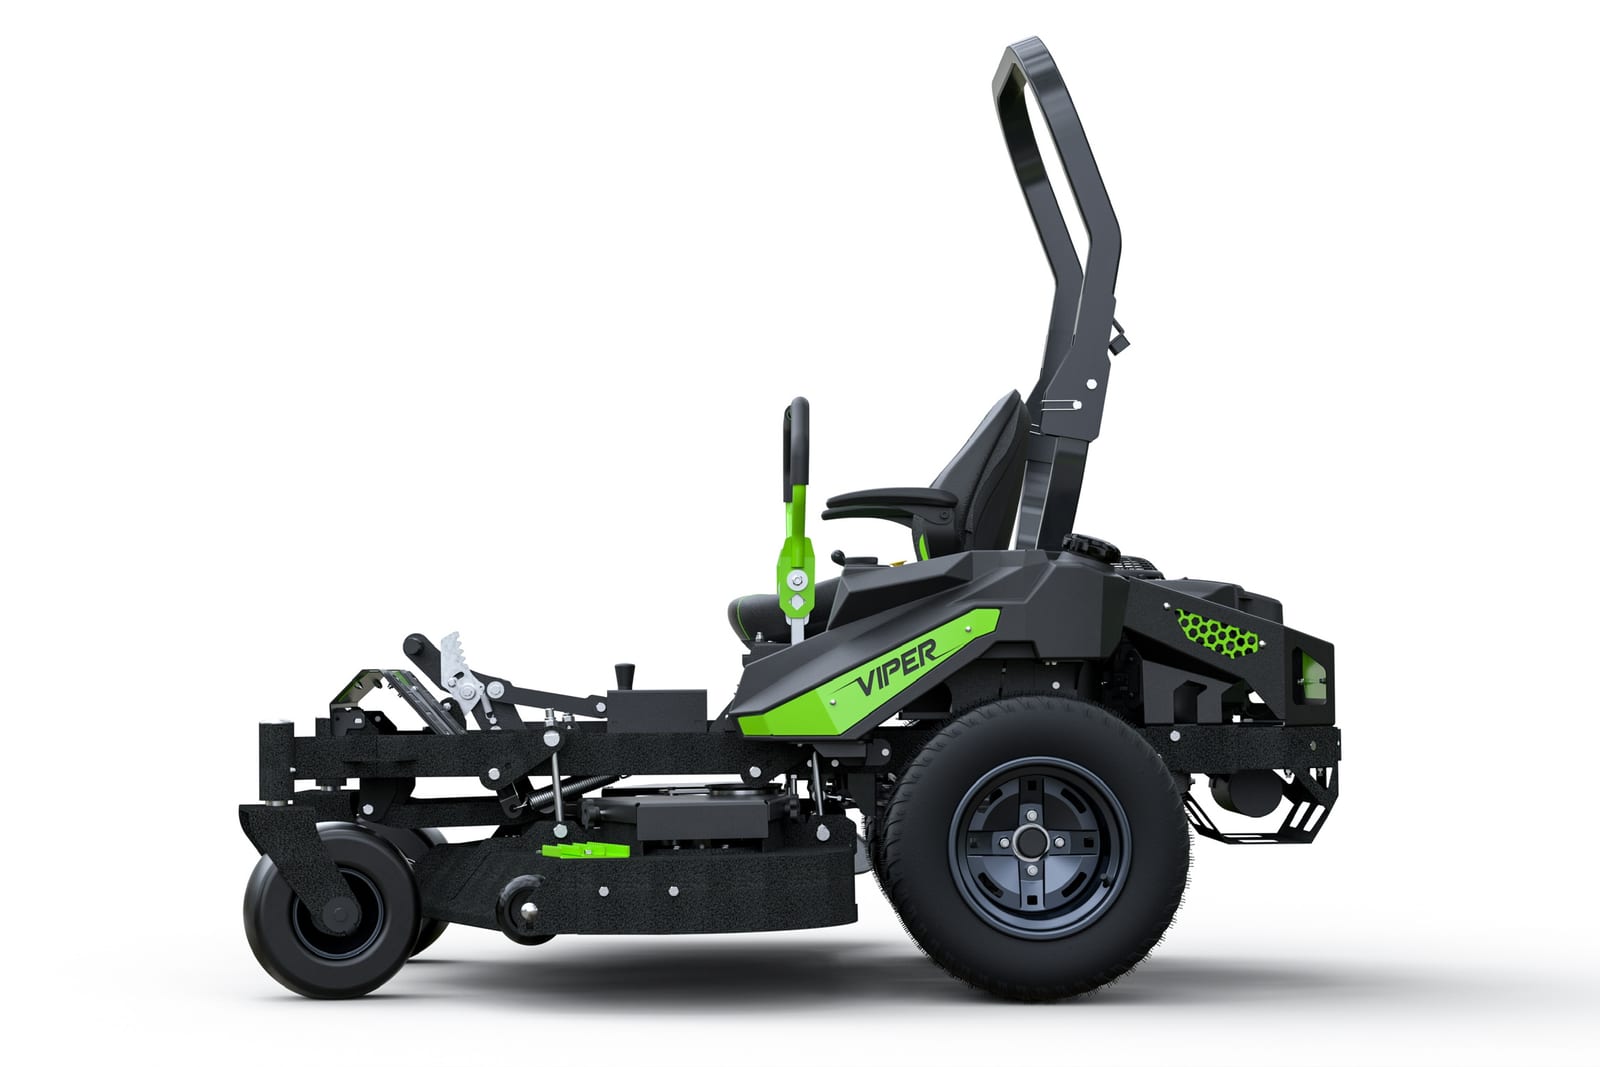
Zero turn mower belt maintenance on a Viper means keeping the deck and drive belts clean, properly tensioned, and free of cracks, glazing, fraying, or missing chunks so they can transfer power from the engine to the spindles and Hydro-Gear transmissions without slipping. Viper does not publish belt specifications, part numbers, lengths, or widths, so always source the exact replacement belt for your V-400 Series, V-600 Series, V-800 Series, or ProStand XP from your operator's manual or your dealer rather than guessing.
Zero turn mower belt maintenance is one of those routine jobs that quietly decides whether your machine finishes the season strong or limps into the shop in July. On a Viper zero-turn, the belt system is what moves engine torque to the cast-iron deck spindles and, on the drive side, to the Hydro-Gear hydrostatic transmissions that turn the rear wheels. When a belt is clean, properly tensioned, and not glazed or cracked, the whole drivetrain is quiet, the cut is even, and nothing else in the system has to work harder than it should. When a belt is dry, frayed, loose, or contaminated with grass and grit, the engine wastes fuel, the spindles run hotter, the deck cuts unevenly, and the belt itself fails sooner than it should. This guide walks Viper owners through honest, spec-sheet-honest zero turn mower belt maintenance for the V-400 Series, V-600 Series, V-800 Series, and ProStand XP. It covers inspection, tension checks, cleaning, replacement timing, and the supporting maintenance that protects belts from premature wear. It also draws a hard line where the brand-canon does. Viper does not publish belt part numbers, belt lengths, belt widths, or belt manufacturers. Anything that specific belongs in your operator's manual or at your dealer, and this guide will keep pointing you there.
Why does zero turn mower belt maintenance matter on a Viper?
A zero-turn mower runs two belt systems most owners do not think about until one of them fails. The deck belt drives the cutting spindles, which on a Viper V-600 Series, V-800 Series, and ProStand XP ride in cast-iron housings with dual, double-row bearings, and on the V-400 Series turn HD split-metal spindle pulleys on a reinforced 9-gauge deck. The drive belt transfers engine power to the Hydro-Gear transmissions that propel the machine. Both belts live in a hostile environment of grass clippings, dust, heat, and vibration, and both are expected to deliver consistent torque under load for hundreds of hours. Skipping zero turn mower belt maintenance produces a predictable cascade of problems. A loose deck belt slips and glazes, which polishes the contact surface, which makes it slip even more, which then chatters the blades and dulls the cut. A loose drive belt makes the machine feel sluggish, especially climbing grades or carrying a heavy operator. A contaminated belt full of dirt or oil residue chews itself up against the pulleys until it sheds chunks or snaps mid-route. Belts are also the cheapest thing in the drivetrain. A failed belt is annoying. A failed belt that takes out a spindle bearing, scars a pulley, or strands a crew is expensive. Spending five focused minutes on belts every time the machine comes back to the shop is the single best return on labor you can get out of a commercial zero-turn.
How do I inspect deck and drive belts on a Viper?
Start every inspection the same way. Park on a level concrete or asphalt surface, shut the engine off, remove the key, set the parking brake, and disconnect the spark plug wires. On the V-400 Series and V-600 Series, the parking brake is integrated into the drive handles, so confirm the handles are locked outward into the park position before you put a hand near a pulley. Let the deck cool. Belts that have just come off a route are hot enough to burn skin and are momentarily more flexible than they will be at room temperature, which can mask cracks. Once everything is cool, find the belt access covers called out in your operator's manual and open them. Use a flashlight. Look at the full circumference of each belt by rotating it slowly by hand at a pulley, watching the entire length pass under the light. You are looking for hairline cracks running across the belt face, fraying along the side cords, glazed shiny surfaces that should be matte rubber, missing chunks, oil saturation, and any sign that the belt is riding crooked in a pulley groove. Feel the belt between your fingers. A healthy belt is supple. A belt that feels hard, brittle, or dry is at the end of its life regardless of how it looks. Check the pulleys at the same time. Spin each pulley by hand and listen for grinding or roughness, which signals a failing bearing that will destroy the next belt you install. Look for cracked or worn pulley grooves that no longer hold the belt at full depth. If you find any of these conditions, plan the replacement now and do not gamble with another week of mowing.
How do I check and adjust belt tension correctly?
Proper tension is the single most overlooked variable in zero turn mower belt maintenance. Too loose, and the belt slips, glazes, and overheats. Too tight, and the belt stretches early while loading the spindle bearings, pulley bearings, and even the Hydro-Gear input shaft with side load they were not meant to absorb. Viper does not publish a universal deflection number for the V-400 Series, V-600 Series, V-800 Series, or ProStand XP, because tension specifications are belt-specific and configuration-specific. Always defer to your operator's manual for the exact deflection or tension force your model calls for. As a general rule, you check tension by pressing on the belt with a moderate finger force at the midpoint between two pulleys and measuring the deflection. The belt should move a small, manual-specified amount and then stop firmly. If it deflects further than the manual specifies, the belt is too loose. If it barely deflects at all, the belt is too tight. Most Viper decks rely on a spring-loaded idler pulley to maintain tension automatically, in which case your job is to confirm the idler arm has full range of travel, the spring is intact, and nothing is binding. If your model uses a manually adjusted tension setup, follow the procedure in your manual exactly, work in small increments, and recheck deflection after each adjustment. After any tension change, run the machine at idle in a safe area and listen. Squeal at startup, chattering blades, or new vibration anywhere in the drivetrain means the tension is wrong or something else is interfering with the belt path. Shut down and investigate before you put the machine to work.
What is the right way to clean belt paths and pulleys?
Belts die from contamination almost as often as they die from wear. Grass clippings packed between belt and pulley groove act like fine sandpaper. Oil or fuel that drips into the belt path softens the rubber and destroys grip in days. Cleaning is part of every belt service. With the engine off, the key out, the parking brake set, and the spark plug wires disconnected, open the belt access covers per your operator's manual. Use a stiff nylon brush, not a wire brush, to knock packed grass and dirt out of the pulley grooves and out of the corners where the belt rides against the deck shell. Compressed air at moderate pressure is excellent for clearing dust out of tight cavities around the idler arm and tensioner spring. Wipe each belt down with a clean, dry, lint-free shop rag. Do not use solvents, brake cleaner, gasoline, kerosene, or belt dressing on a Viper belt. Brake cleaner can swell rubber compounds and shorten belt life. Belt dressing masks slip for a few hours and accelerates glazing afterward. If a belt is saturated with engine oil from a leaking valve cover gasket or a saturated air filter housing, the belt is contaminated for good. Replace it, and fix the source of the oil before the new belt arrives. While the covers are open, look at the belt path itself for sharp edges, bent guards, or debris that has worn a track into the deck shell. On the V-400 Series with its reinforced 9-gauge deck and on the 6-gauge V-600 Series, V-800 Series, and ProStand XP decks, the steel is heavy enough to take abuse, but a chronic interference point will still chew belts faster than you can buy them. Address it now.
When and how do I replace a Viper belt?
Replace a belt as soon as inspection reveals any of the failure indicators that matter. Cracks running across the belt face, missing chunks, exposed cord, hardened rubber, visible glazing that does not buff off, fraying along the side, or contamination that has soaked into the belt all mean the belt has reached the end of its useful life. Replace it before it strands you mid-route. Sourcing the right replacement belt is where Viper owners must be careful. Viper does not publish belt part numbers, belt lengths, belt widths, or belt brands on the product pages for the V-400 Series, V-600 Series, V-800 Series, or ProStand XP. Anything you read online claiming a specific belt part number for a Viper deck is either pulled from an operator's manual or is a guess. Use your operator's manual or call your dealer and order the exact replacement belt for your model, deck size, and serial number. Aftermarket equivalents may exist, but they are at your own risk on a commercial-grade machine still under the 4-year, 3-year engine and Hydro-Gear, unlimited-hours-during-the-first-two-years warranty. With the correct belt in hand, set up the way you would for any belt service: level surface, engine cold, key out, parking brake set, spark plug wires disconnected. Photograph the existing belt routing before you remove anything. Release tension at the idler, walk the belt off the pulleys in the order your manual specifies, inspect every pulley for damage before reinstalling, route the new belt exactly as photographed, restore tension, spin the system by hand to verify alignment, close the covers, and test at idle before putting the machine back into service. Log the belt change in your maintenance book with the hour meter reading.

What supporting maintenance protects belts from early failure?
Belts last longest on machines that are otherwise well maintained, because nothing on a deck or drivetrain fails in isolation. The single biggest belt-killer outside the belt itself is a failing pulley bearing. Grease your deck spindles on the schedule your operator's manual specifies, because dry, noisy, or wobbling spindles destroy belts. Inspect every idler pulley and tensioner pulley by spinning them by hand at every belt service. A pulley that grinds, hangs, or has visible side play needs to be replaced before the next belt goes on. Engine condition matters too. A Kawasaki or Vanguard engine that is hunting at idle, surging under load, or low on oil is a drivetrain that loads belts unevenly. Change engine oil at the 100-hour interval per Kawasaki or Vanguard service literature for your engine, replace plugs per the engine manufacturer's spec -- the NGK BPR4ES on the Kawasaki FR691, FR730, FT730, and FX850 EVO EFI, the NGK BPR5ES on the Kawasaki FX1000 EFI, and the plug specified in your Vanguard manual on the Vanguard Big Block -- and address fuel system issues on carbureted models promptly. On V-800 XP, V-800 Elite, and ProStand XP with the Kawasaki EFI option, there is no carburetor to clean, but the EFI system still benefits from clean fuel and a clean air filter. The Hydro-Gear hydrostatic transmissions also deserve their own attention because a healthy hydro reduces parasitic load on the drive belt. Per Hydro-Gear service literature, the ZT-2800 through ZT-5400 transmissions used across the Viper lineup take a 20W-50 engine oil meeting API SL classification (these are serviceable units, not sealed). On the smaller ZT-2800, ZT-3100, ZT-3400, and ZT-3800 units (V-400 Series, V-600 Series, and V-800 Pro), Hydro-Gear calls for an initial oil and filter change at 75 to 100 hours and subsequent changes every 400 hours using service kit part number 72750. On the larger ZT-4400 and ZT-5400 units (V-800 XP and Elite, and the ProStand XP), Hydro-Gear calls for the initial change at 100 hours and then every 400 hours or yearly using service kit part number 72881. That is not directly belt service, but a hydro that is loaded with the right fluid on the right schedule keeps the drive belt operating in its design envelope and dramatically extends its life.
Frequently Asked Questions
Zero turn mower belt maintenance on a Viper is not complicated, but it is unforgiving. Belts that are clean, correctly tensioned, and replaced before they fail will quietly do their job for hundreds of hours. Belts that are ignored will take spindle bearings, pulleys, and a good workday with them when they go. Build belt inspection into every service stop. Look for cracks, glazing, fraying, missing chunks, and contamination. Confirm tension against the deflection figure in your operator's manual, not against an internet guess. Clean belt paths with a brush, compressed air, and a dry rag. Never use solvents or belt dressing. When a belt is finished, source the exact replacement from your operator's manual or your Viper dealer rather than gambling on a generic cross-reference, because Viper does not publish belt specifications on its product pages and an incorrect belt on a V-400 Series, V-600 Series, V-800 Series, or ProStand XP can cost you more than the belt itself. Pair belt service with attention to the rest of the drivetrain. Grease the cast-iron spindles, change engine oil at the 100-hour interval per Kawasaki or Vanguard service literature, service the Hydro-Gear hydrostatic transmission per Hydro-Gear's schedule, and log every action with the hour meter reading. That discipline is what keeps a commercial-grade Viper deck cutting straight, season after season, with belts that earn their keep instead of stranding a crew.
Ready for a Machine Built to Last?
Explore the Viper Mowers commercial zero-turn lineup on vipermowers.com and find the series that fits your property:
See the Full Lineup →Published: 2026-06-19